Showing posts with label classroom organisation. Show all posts

Sunday, 17 March 2019

Flip the Switch on Classroom Interruptions!

We've all been there - you finally get your kidlets settled and started working on a whole class test when there's a knock at the door and a group of Year 6 kids arrive to talk about student council.  Or maybe you're a few pages into the text with your guided reading group and another student taps you on the shoulder to ask if they can get a drink.  Perhaps the worst of all - the precious ten minutes you have to do some one-on-one intervention work with a struggling student is lost when Susie from next door arrives to borrow some blue paint.  Today I'm sharing a super simple (and cheap!) trick to stop those annoying interruptions during important activities.

First of all you need to visit your local hardware store and grab a battery powered light.  Any will do  - the one I have is called a flip light and was $3.99 from Bunnings. 


The light acts as a signal to others that your students are working on a task that can't be disturbed - put it on the wall near your classroom door or your small group table.


Flip the light on whenever you need to - anyone tempted to knock and interrupt your teaching will see it and come back later!


I've popped together a few posters to display beside your light - click on any of the images below to download them for free.

Testing in Progress - perfect to put beside the door:


 We are working hard - put this one beside your small group table to let the rest of your class know that important work is happening:


Do not disturb - use this for parent teacher interviews etc. when you're having a meeting:


I hope you try this easy trick to stop those annoying interruptions while you're teaching!


Saturday, 15 October 2016

Repeat After Me: A strategy to save your sanity!

Ok, I know we've all been in this situation: 

Children are gathered on the carpet, where it appears that they have been listening carefully to the instructions for the next task that you've spent time clearly explaining.  Before sending them off to get started, you check to make sure there are no questions or clarification needed.  Everyone nods that they are all set - instructions remembered, eager to get going!  As the kidlets move to their desk or work space you (prematurely) congratulate yourself on your clear and concise directions!  And then it begins... "What do I do first?" "Do we draw or cut after we write our name?" "Am I supposed to use crayons or pencils?" "I can't remember what to do after I colour my picture!"  You then spend the rest of the lesson explaining everything again, to each child individually, mentally pouring yourself the glass of wine you'll need when you get home.

A few years ago this was me - all the time! - until I stumbled across a simple strategy that literally saved my sanity.  I'm going to share it with you today, along with a free resource that you can use along with it. :)


When I said this strategy was simple, I really meant it!  It simply uses repetition, connected with a verbal and physical response, to help little learners remember instructions.    

The first step is to explain the task as you usually would - perhaps you have a craft example already made that you refer to while giving instructions, maybe you demonstrate on the whiteboard how to complete a worksheet, or you might move around the workspace pointing out resources that your kidlets will need.  Once you're done with this process, it's time to use 'Repeat After Me'!

Let's imagine I've just explained a craftivity in detail to my class, perhaps these 2D shape icecreams:


I then say "repeat after me" (which my kidlets are familiar with!) and go through the steps one by one one using my fingers to number them, with children repeating my phrases and holding up their own fingers.  For this craft it would go something like this:
(1 finger) "Name the back of the cone in pencil." 
(2 fingers) "Cut out the coloured shapes."
(3 fingers) "Glue the pieces together."
(4 fingers) "Glue on the shape names"
Then we repeat the steps again - this time with less words:
(1 finger) "Name"
(2 fingers) "Cut"
(3 fingers) "Glue"
(4 fingers) "Glue"
Using this strategy I don't ever ask if there's any questions - I send my kidlets away to get started straight away, with the instructions still fresh in their minds! :)

During the repetitions I'll also point to the visual instruction cards that I use  - they have the same numbers and one word direction that we're saying and also a simple picture.  I just stick them to the board and point as I speak.  Even if kidlets forget the next step, or whether they colour with crayon or pencil, the numbered steps remind them and the graphic specifies the material they need.  I've prettied these up a bit for you and uploaded them to my store where you can download them for free - just click the pic below! (Spelling for colour & color included.)

Although using 'Repeat After Me' works really well for more complex activities like crafts, I use it for most tasks.  It might seem obvious that kidlets need to name their worksheet before they start, or to write before they colour their picture... but the fact is that for little learners at the beginning of their school life, it's not! To help them achieve success by completing a task as instructed, I use this strategy to help them establish good independent work habits.  Of course, there will always be a few students in your class who will still forget or become confused completing multi-step tasks, but this strategy should help most. :)

Click this image to grab your freebie (and leave some feedback if you can!):


Wednesday, 13 January 2016

Back to School - Classroom Management Tricks!

One of the most important things to think about before you start a new school year is the techniques you will use to manage behaviour and routines in your classroom.  What's great about teaching Prep is that you can have lots of fun while keeping your kidlets motivated towards reaching behaviour goals and working responsibly with others.  

There are of course many ways to track student behaviour and to reward kidlets who've made great choices - clip charts, sticker charts, Class Dojo, table points - and to be honest it really doesn't matter which of these you use.  Just make sure you choose something that will be easy to manage during busy days of teaching.  I personally like using a clip chart, with each child having a peg to move up towards 'Super Kid' status or down as a reminder that they've been warned about a poor behaviour choice.  It only takes a second to move a peg and they love the visual to keep them on track.  More important than what system you use is that your expectations are very clearly set right from the first day of school so that kidlets know what is and isn't appropriate in your classroom.  For years now I've been using this awesome (and free!) pack from Growing Kinders - it's called Monster Manners!  On the first day of school we read the cute little story about the monster who went to school and just wasn't quite sure how to behave nicely.  Then we spend time together deciding what choices are above the line (helping, raising your hand, sharing), below the line (lying down during carpet time, interrupting), or bottom line (hitting, yelling).  The colourful display stays up all year and I can refer back to it whenever we need a reminder about classroom behaviour expectations.


Another technique I use within the first few days of Prep is called 'Self Control Bubbles'.  We often talk about using self control to make good behaviour choices, and this easy activity gives little ones something real life to refer to.  We start by sitting in a circle outside and I explain that I will be blowing lots of bubbles in the air.  The first time, kidlets are allowed to pop them to their heart's content (I usually stipulate that they must stay seated to limit the chaos).  I blow lots of bubbles and we have lots of fun popping them.  The second time I blow the bubbles, kidlets must keep their hands in their lap and not touch any - even if one lands right on their nose! I explain that they will be using a feeling called self control to keep their hands still.  This time when I blow the bubbles, everyone sits very still.  We then talk about times in the classroom or playground when we really, really want to do something that we shouldn't, and connect the feeling of self control to those situations.  You can repeat this activity at the beginning of each term or one-on-one for individual students if needed. Click on the pictures below to grab a free pack with a label for your bubble bottle and some response worksheets. :)


When you're working with little learners you will probably want to have some sort of reward system in place for when they reach behaviour goals each day/week.  I used to have a prize box which was slowly sending me broke - not to mention the fact that prizes were often left behind at the end of the day or broken before they even left the classroom.  Last year I ordered some business cards from Vista Print (I got hundreds for less than $10) to use as 'take home tokens' when kidlets had reached the 'Super Kid' level on our clip chart, or when they had done a particularly good job of being a 'Bucket Filler'.  I would write a very short note on the back to let parents know what their child had done well that day.  Although I thought the novelty would wear off, it turned out that even at the end of the year it was still a huge excitement to take home a Super Kid card - children would run to their parents at home time and eagerly talk about what they had done to receive one. No more prize box for me!
 

On the Vista Print website there's an option to upload your own design - I just used some cute clipart in PowerPoint and then saved it as a jpeg. :)

Let's be honest - no matter how well you set up your expectations and classroom routines, there will be days when you just need a little bit of magic to keep your kidlets on track.  One of my favourites is 'Quiet Spray' - to be misted into the air when it's time to settle down and work quietly.  The ideas I saw on Pinterest were just an empty bottle, so the 'Quiet Spray' was just air, but I use water with a few drops of lavender oil.  In summer I keep it in the fridge for an extra cool treat after play time.  Whenever it's sprayed in the air kidlets magically calm down and work quietly. :)


I also have a class set of 'Quiet Critters' made from pom poms and craft foam.  I bring them out from time to time when we need some practice working nicely.  Quiet Critters are very shy, so they will only sit on your desk if you are working sensibly.  Whispering is ok, but loud voices scare the Quiet Critters away.  Obviously most of the time in Prep we are working in groups, playing games, moving and having fun - so Quiet Critters are a little extra motivation for those odd times we're at our desks. :)


Another management tool I find very helpful is 'Handy Helpers'.  Having a chart of classroom jobs seems pretty inefficient to me - you spend most of the day trying to figure out who's supposed to be doing which job, who the line leaders are, who's not there because they're taking the tuckshop etc. To solve this problem I write each of my kidlets' names on a foam hand and have two helpers each week.  They are the line leaders, they do any jobs that need doing and they take the tuckshop.  So simple and easy!


I hope this post has given you a new idea or two that you might be able to use in your classroom this year!  I'd love to hear if you try one. :)

Monday, 4 January 2016

Back to School - Classroom Set Up!

I know what you're going to say - it's way too early to be thinking about going back to school!  If you're not in the mood to think about your classroom just yet I do understand... but if you're like me you will do a lot of thinking, mulling and pondering over the best way to set up your room for the new school year before you actually start working on it.  I wanted to share a few ideas from my classroom with some learning areas you might like to use in your own room.

First up is my favourite (and probably the most important) part of the classroom: the Library! Whether you use your own books, school provided books or a combination of both you will want to organise them for your kidlets and keep them in an area that is inviting.  I have lots of books from many years of teaching - most of them bought secondhand from the Lifeline Bookfest.  I organise them into author baskets, non-fiction and then general picture books.  Readers are organised by levels.


All of my baskets came from dollar stores and I attached the labels with some ribbon.  Kidlets access the Library to choose new books for their 'Book Box' and during free time.  (Keep a lookout for a post soon all about reading tools to add to your library space!)  

You might be a lucky duck and have a tonne of space in your room for your Library.  Maria from Kinder Craze has a gorgeous big space that I am always envious of!


Next up on the list of important classroom spaces is the carpet area - the place we spend so much of our day either as a whole class or in small groups.  Luckily, this is very easy to set up as you really only need a few things to make it work well: a teacher's chair, board/display area and defined space for the kidlets to sit.  The best investment I ever made for my classroom was to get a class set of SitSpots! They stick to the carpet like glue, without damaging it at all, to give each kidlet a place to sit.  I love them!


On the pinboard near our carpet area I keep our daily calendar, behaviour expectations display, birthdays and classroom rules.


Another important display space is right by your small group teaching area.  I was lucky enough to have this gorgeous U-shaped table in my room (I got the stools from Ikea).  Behind it you can see our number posters, Sound Waves chart and reading strategies, but you should display anything you will reference during your small group instruction. :)


As you set up your room for 2016 you might also like to include spaces like a Writing Corner, art space (mine is called the Creation Station) or an area for fast finishers to work on tasks without disturbing others.  


My Writing Corner and Creation Station are simple - pretty much a table, a few posters and the materials needed for each.  We use them during Discovery Play (free time).  You could definitely make these more elaborate if you wanted to!  

My plan has always been to make a space for a set of 'Bee Busy' drawers for kidlets who finish their work quickly (inspired by From the Pond) with a desk beside it but I've never managed to do this properly.  It's still on my to do list!


I hope this post has given you some food for thought as you plan to set up your classroom for the new school year!  I'll be back soon with some more 'Back to School' posts!

Saturday, 28 March 2015

My Classroom Library - a peek inside!

As I was doing my end-of-the-week tidy up yesterday afternoon I snapped a few photos of my classroom library to share with you all.  Hopefully you'll find a few easy ideas that you can use to organise yours or to help your kidlets become excited about reading!

First up, let's talk about how I organise my books.  I know it's not perfect, but I wanted there to be some order so that kidlets could make informed decisions about the books they choose for their book box - and I wanted to scaffold their choice of a 'best fit' text. 


One shelf holds our levelled readers, organised into baskets of 2 levels.  For this term, I have been choosing these books for kidlets - explaining that I'm giving them 1 book at their level, 1 that's easy practise and 1 that's more of a challenge.  Next term they will have control over these choices.  I was undecided as to whether or not I should display the levels... I didn't want reading to become a competitive sport.  Luckily enough, my Preppies have always been happy to choose their level and not worry what their friends' levels are. :) As these are all school books I can't really re-sticker them with colours etc. so the levels are the easiest for organisation at the moment.

Two other shelves hold our picture books and non-fiction texts. The left shelf has baskets organised by author - Mem Fox, Dr. Seuss, Pamela Allen and Jez Alborough - as well as two baskets of non-fiction.  On the top are pink baskets with Grug and Little Golden Books.  We also have a returns box. Children can choose whichever books they like from here.  It took a few weeks, but they are getting pretty good at leafing through to check and see whether a book is one that interests them rather than grabbing random ones.


Now on to the fun stuff! I have a little collection of tools that my kidlets can choose any time they are reading to help them engage with a book.  Our 'Reading Glasses' are just dollar store sunglasses with the lenses popped out.


'Sight Word Stars' are the newest addition to our library.  I typed our sight words onto some star clipart, laminated and cut them before taping them onto a giant straw (from Ikea!).  Kidlets use these to search for sight words they know in 'tricky' picture books.


We have a variety of pointers to use as well, these really help to ensure that kidlets attend to the text they're reading - particularly in Guided Reading groups.  At the moment I've only got the googly eye sticks out, but now that my clever Preppies are using these responsibly I'll add some new ones next term.  I get everything from the dollar store!


Googly eyes glued to craft sticks.


Magic wand party favours.


Plastic magnifying glasses.


Torches.

Two big containers hold our 'Reading Buddies' and 'Whisper Phones'.  Buddies are available any time kidlets want to read their book aloud.  They never interrupt and are nice to cuddle. :)  I asked parents last year if anyone knew a plumber who could get me cheaper plastic pipes to make Whisper Phones, and was so appreciative when one of my little girl's uncles just went ahead and made them as a donation!  They're two pieces glued together, and I just decorated them with colourful duct tape.


Lucky last - our Book Boxes!!


I used the 100 Scrappy Kids set that Mel (Graphics from the Pond) made to personalise each label.  I chose the scrappy kid that most looked like each kidlet, and we also use the same graphics for desk labels.  Each week we change our books (3 levelled texts and 4-5 other books) to keep for our independent reading time.  At this stage of the year my class can read for 10-15 minutes in silence, which I think is pretty good for Term 1 Preppies! :)

That's all from me today!  Easter holidays are coming up so hopefully I'll have some extra time and energy to post a little more - I have lots of photos of fun activities we've been doing but end of term exhaustion has just kicked my butt.  I really hope you found an idea or two today that you can use, and I promise to be back soon!!

Saturday, 31 January 2015

Five for Friday - Back to School!


Well folks, week one of 2015 is done and dusted! This year's kidlets are absolutely gorgeous and I'm excited to teach them this year. :) My Five for Friday this week is back to school style!


My classroom is set up this year much the same as it was last year. I decided to cover the horrible brown pinboards with fabric... I should have googled before I got started because the first ones I did have wonky edges! It's driving me mad every time I look at them. I got the hang of it eventually so might change out the dodgy ones.  Here's a few pics of my room!


Classroom library corner.


Small group teaching table.


Carpet space.


In amongst my purchases to get ready for the new year I bought 25 packs of Crayola crayons for 80c each.  We only have pencils and markers on our supply list and I wanted kidlets to have another option for their colouring and drawing.


Turns out that soap holders from the dollar store are the perfect solution for storing them!


I'm trying out something new this year for my classroom helpers/line leaders set up.  I had a pack of foam hand cutouts that I actually bought at Walmart years ago. Brought them all the way home to Australia and never had any use for them until now!


I wrote the names of my kidlets on them and made this very simple poster to stick them to.  Whoever is displayed on the hands gets to be the line leaders, tuckshop monitors and general classroom helpers.  This week I kept them the same as we got used to moving around the school, but I plan to change them twice a week.


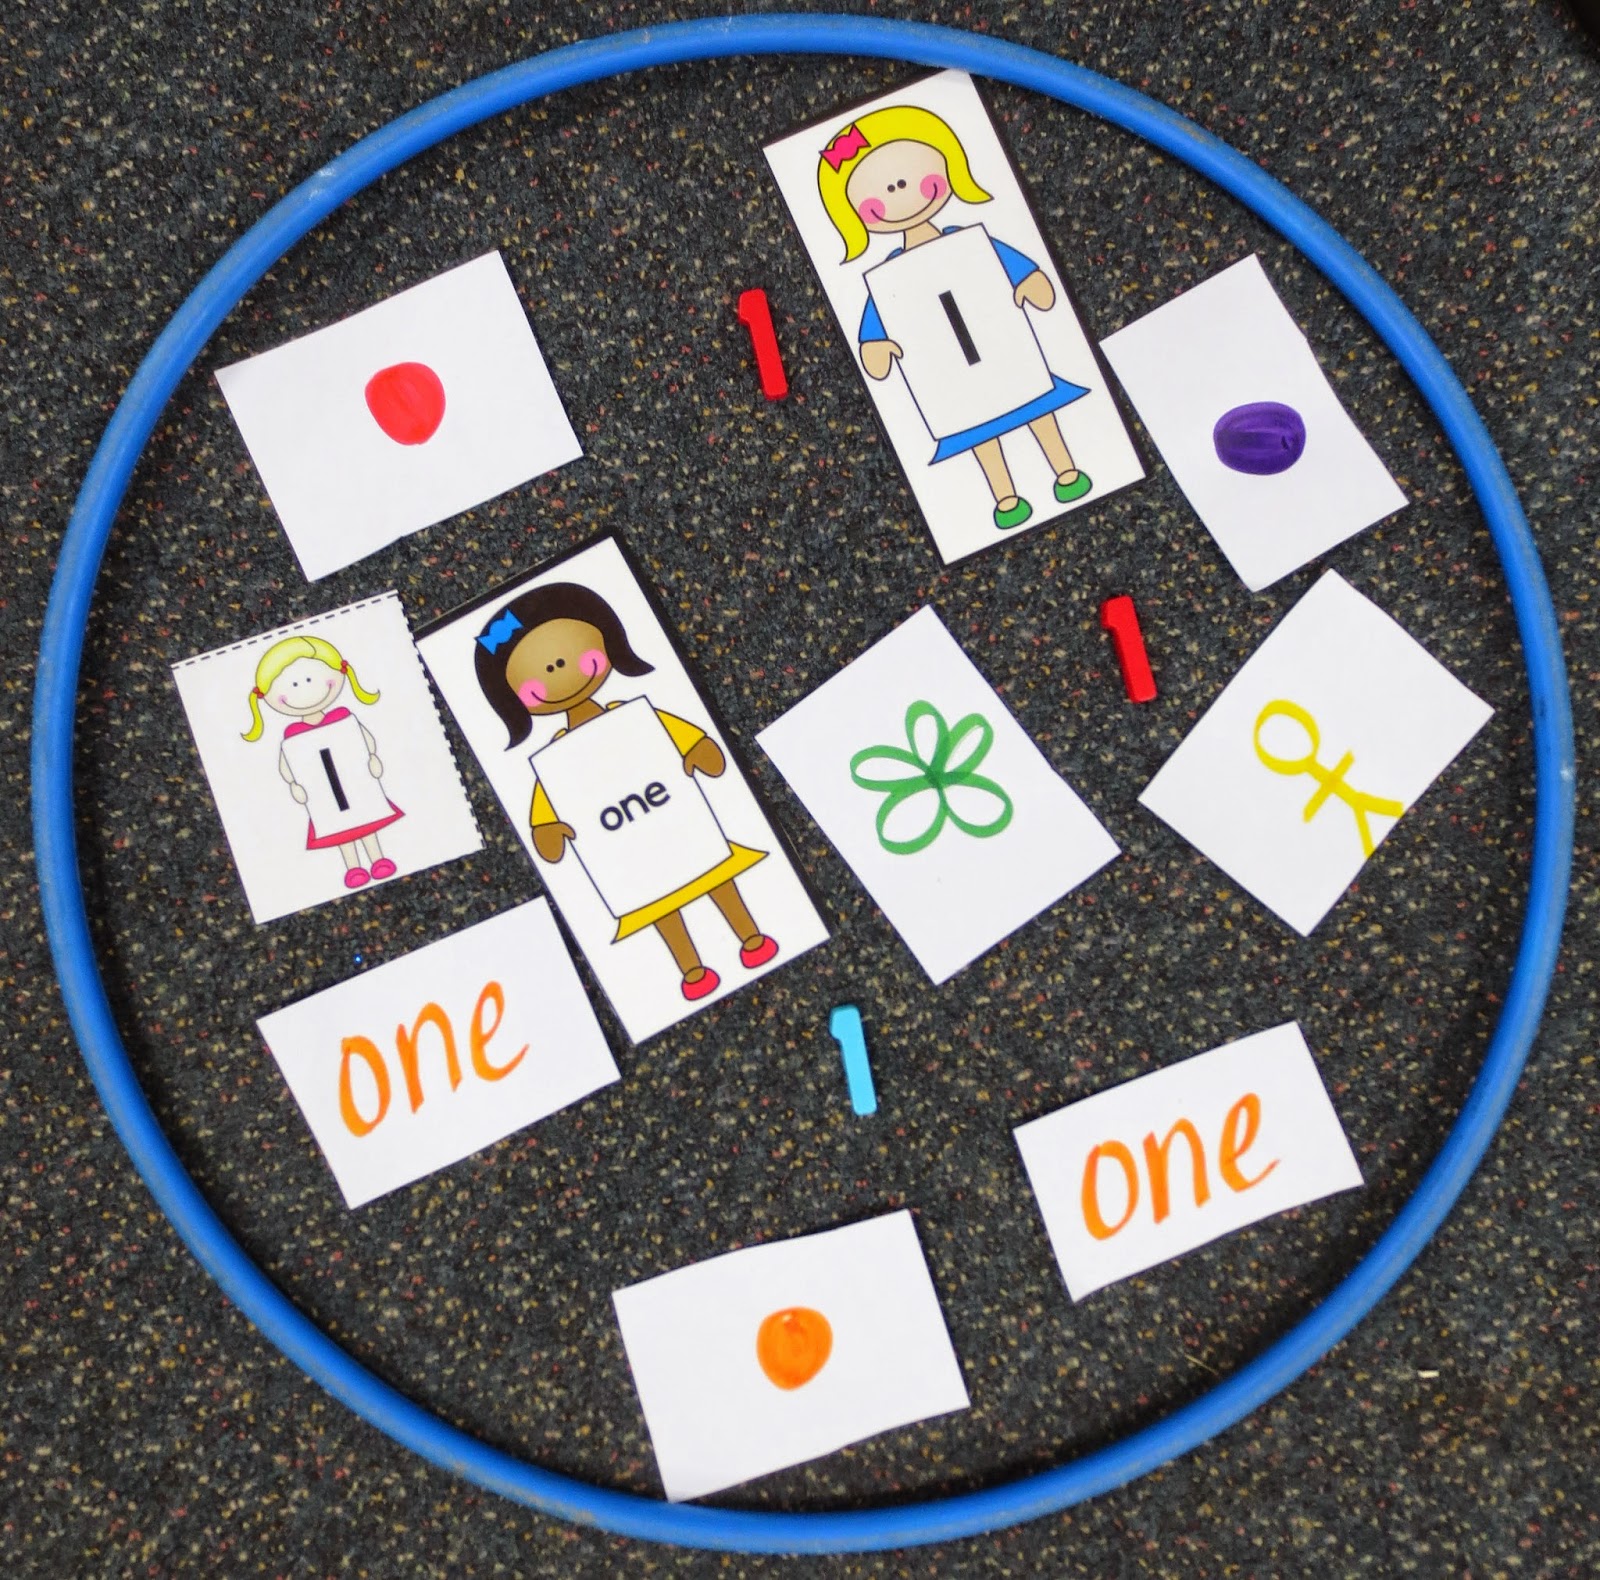
We jumped right into maths this week by learning all about the number 1!  We sorted with the lucky dip bag:


One


not one!


 We made these gorgeous Number Crowns...


...and reviewed with these cute worksheets!


My kidlets were pretty worn out after their first week of Prep.  We did this torn paper activity for some quiet time. :)


Each kidlet had a template with their name and first letter.  We cut the strips and they tore and glued the pieces on.


I know, I know... they desperately need a border, but cute doesn't always win. :)

That's all from me today! I hope you are having a wonderful, relaxing weekend!